
As I promised, I will share with you a few tips and techniques that I used on the layouts I made for My Creative Scrapbook this month. Of course you can see more tips from the rest of the DT at the forum--->Here
I warn you! It is a Loooooong post! Take a cup of coffee or a drink and sit back!
To make this artsy background, you need a credit card or spatula and acrylic color. You dιp the card into the paint (it could be gesso as well) and start making moves up & down/left & right...
have you seen "karate kid"??? LOLOL
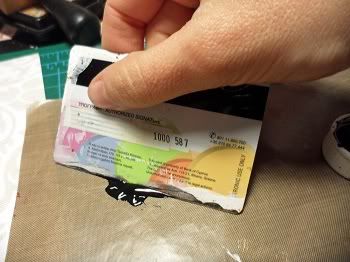
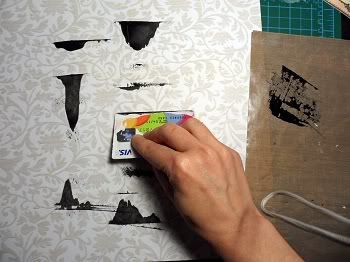
have you seen "karate kid"??? LOLOL
***
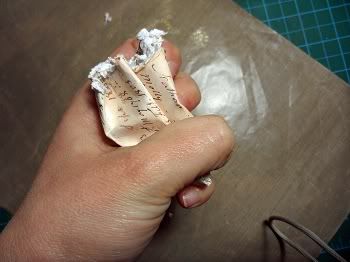
To give a vintage feeling to your paper and really distressed look, you spritz it with water
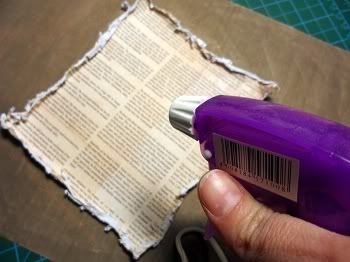
and squize it gently with your hand!
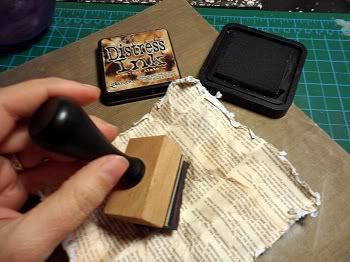
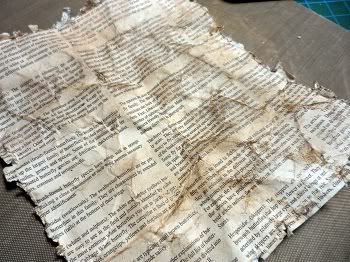
After that, you apply distress ink using a foam pad to point out the wrinkles!
and squize it gently with your hand!
After that, you apply distress ink using a foam pad to point out the wrinkles!
***
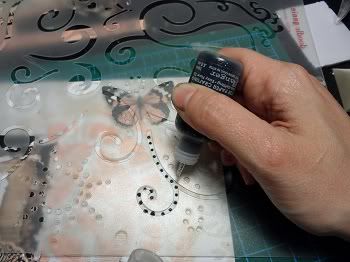
If you don't have a swirl that fιts your colors or design, make your own using stickles! To be accurate, use a stencil!
***
Well, I liked the chipboard's pale brown natural color but I wanted to highlight it a bit!
So I randomly inked it with two different shades of brown and covered it with crackle paint rock candy!
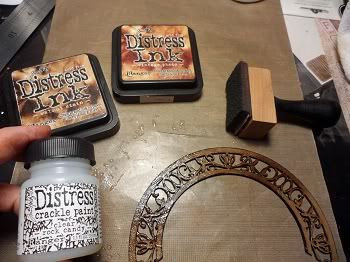

So I randomly inked it with two different shades of brown and covered it with crackle paint rock candy!
***
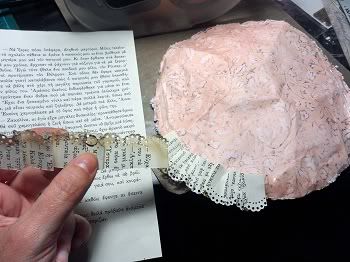
 to make these beautiful vintage ruffles behind the circle.....
1) I cut strips from an old book,2) I use a border punch,3) I ink them with some brown distress ink, 4) with my fingers I press them randomly into ruffles, 5) I glue them around on the back of my circle!
***
I will show you step by step how to achieve this background!

1) Use a mask and dab a chalk ink or use a foam pad and distress ink above the mask (don't mind my finger..it is a mess..lol) (Prima Mask)

2) Then use a mask and glimmer mist or chalk mist. you can use more than one colors!

3) Use a music or letter stamp with versamark ink and stamp randomly all around the paper

1) Use a mask and dab a chalk ink or use a foam pad and distress ink above the mask (don't mind my finger..it is a mess..lol
) (Prima Mask)2) Then use a mask and glimmer mist or chalk mist. you can use more than one colors!
3) Use a music or letter stamp with versamark ink and stamp randomly all around the paper
tip: I don't use an acrylic block for that, just my fingers!That way I avoid the square shaped stamping!
4) I have put coper embossing powder on the places I stamped and melt it with a heat gun.

5)Mix some gesso with black acrylic paint and dab it above a mask using a brush. That way you achieve some extra thick texture. (Prima Gate Mask)


6) I decided to use an extra mask (clock) and glimmer mists (gold and suede)

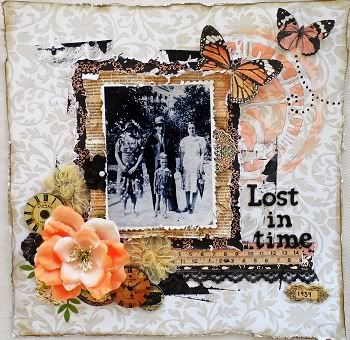
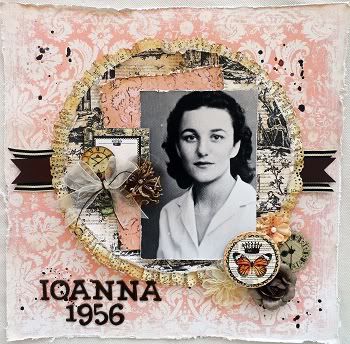
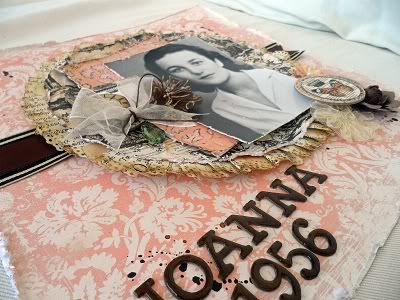
and this is the finished layout:

4) I have put coper embossing powder on the places I stamped and melt it with a heat gun.
5)Mix some gesso with black acrylic paint and dab it above a mask using a brush. That way you achieve some extra thick texture. (Prima Gate Mask)
6) I decided to use an extra mask (clock) and glimmer mists (gold and suede)
and this is the finished layout:
***
I hope you enjoyed my post and I hope I have explained everything correctly!
Have a nice creative day!
xoxoxo


